This gallery shows the final assembly of Ashley’s guitar. By this point I had finished buffing the finish, leveling and recrowning the frets, fabricating the pickguard, the jackplate and the pickup surrounds—so all I needed to do was put it together, wire it up and slap some strings on it.
-

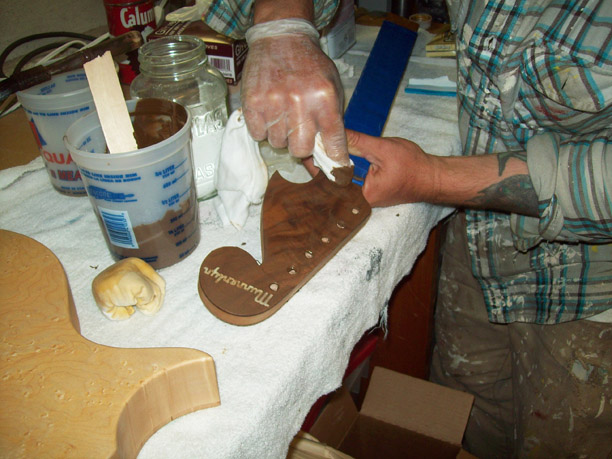
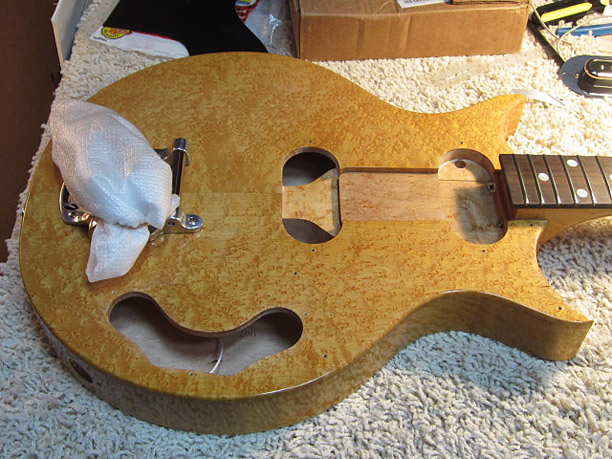
- Ready for final assembly.
-
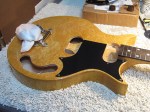
- Attaching the pickguard.

-
- Mounting the bridge pickup.

-

- Neck pickup.

-

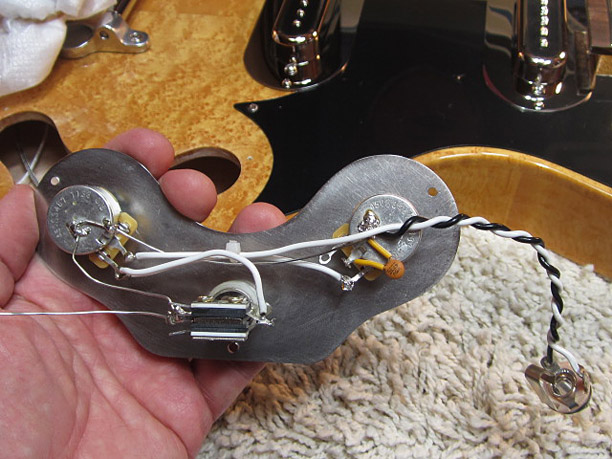
- Wiring is almost complete.
-
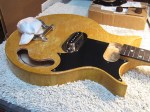
- Checking control plate fit.

-

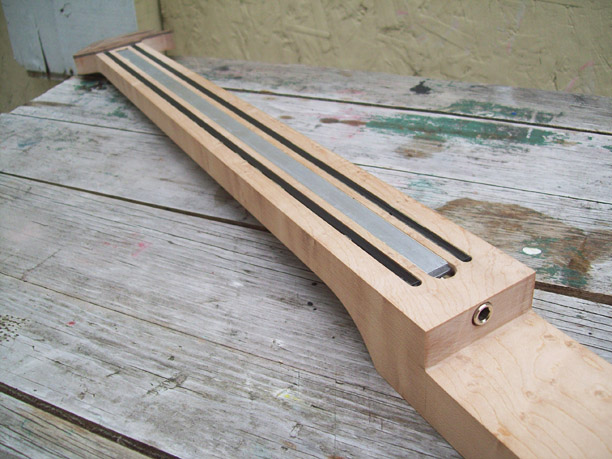
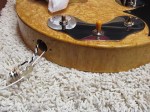
- Output jack installed.

-

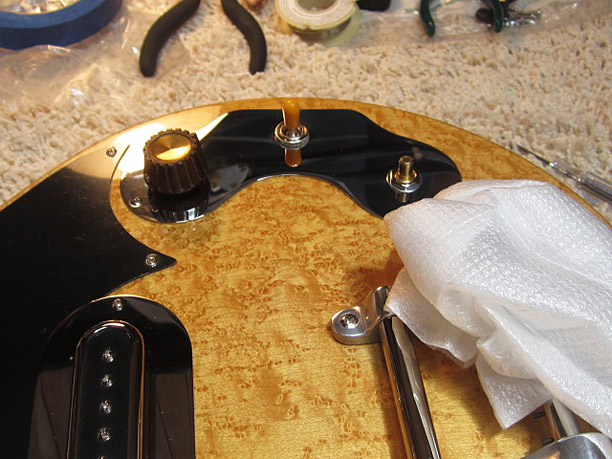
- Installing the control knobs.
-
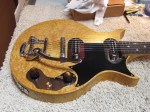
- Strings on & ready to play.