As with everything in life, a blog has to start somewhere, so here goes nothing…
For years now, I’ve wanted to try building an electric guitar. It’s just something I wanted to see if I could do. No, I’m not an experienced woodworker but I’ve always looked at guitars with an “artistic eye” and felt that my background in graphic design and mechanical drafting might give me an advantage if I ever tried building one.
Another advantage is that I’m a longtime guitar geek. I’ve read all kinds of books on vintage guitars, guitar construction, guitar history and the like. In fact, I’ve stuffed my brain with altogether far too much information on obscure, weird old guitars—and amps too! (Don’t even get me started about the hours spent ogling guitars on eBay.)
I can’t help it though. I’ve been obsessed with guitars since I was thirteen years old—the year I got my first guitar, of course.
Anyway, I finally reached the point where I told myself, “Dude, you can think about making a guitar forever or you can actually try doing it. If not, you’re going to end up wondering ‘what if’ for the rest of your life.” So, armed with my “get-on-with-it-already” self-ultimatum and completely putting aside any doubts in my—nonexistent—woodworking skills, I got started on my first guitar project.
I figured my first build ought to be something basic like a Fender Telecaster. I didn’t want to start with anything too complex and you can’t get more basic—or classic for that matter—than Leo Fender’s timeless blueprint for the workingman’s electric guitar. It wasn’t too long, however, before the nonconformist in me said, “Everybody makes a Telecaster-style guitar. You should try making something more unique than that.”
As it turns out, the guitar I really had my heart set on replicating was a 1950s Carvin solid body. “A 1950s what?”, you say. Well, the Carvin company has actually been around since the ’40s and still sells guitars and amps today. These days Carvin is largely known for supplying guitars to metalheads but the long running Southern California brand originally catered to country & western players and boasted a product line sporting more steel guitars than standard ones. By the mid ’50s they had introduced their first solid body electric guitar, which it turns out wasn’t so vastly different from Leo’s Telecaster—if Fender had made his guitars in 7th grade wood shop, that is.
 All joking aside, the Carvin model #3-SGB (left) was a serviceable enough bolt-on neck, slab-body affair. Its “looks” may not appear familiar to the modern eye but its rustic curves clearly evoke not only the stylings of Fender’s guitars but also those of fellow SoCal electric guitar pioneer Paul “P.A.” Bigsby. This guitar was truly a product of its time and place. On top of that, it was blessed with a pair of sweet sounding Carvin AP-6 pickups, making it a genuine twang machine.
Or, in other words, the ideal, obscure but cool, “off brand”, not too complicated, guitar project I was seeking for my first attempt at the art of lutherie.
To get my project started, I needed to track down an original Carvin guitar that I could copy the body shape from. I turned to serious Carvin enthusiast Lloyd Tripp, of Austin, Texas. Lloyd has been rockin’ vintage Carvin gear for years and graciously agreed to send me a pencil outline of his original specimen.
The next step was to purchase some wood. I searched all the major guitar parts suppliers for a body blank and quickly found out one thing. While every supplier offered guitar body blanks, not one of them offered one in maple, which is what my project called for.
Not having a clue and not knowing where to turn, I banged my head against the wall until I finally thought, “Why not call Carvin?” So I called up Carvin and asked if they’d sell me a maple body blank. Sure enough they said, “No problem,” and in an ironic twist to this tale, I ended up buying my wood from the very same company whose obsolete, fifty-something year old guitar I was trying to replicate.
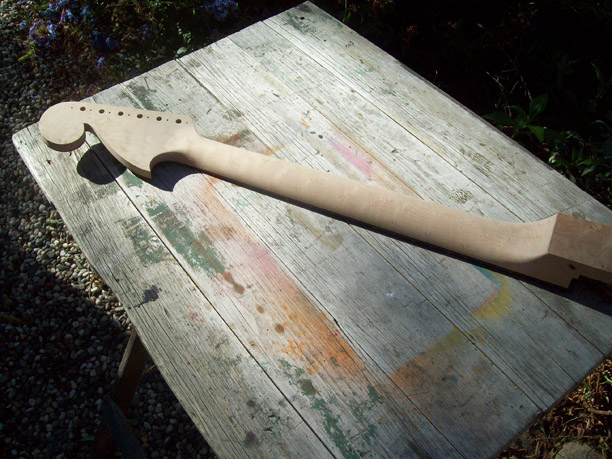
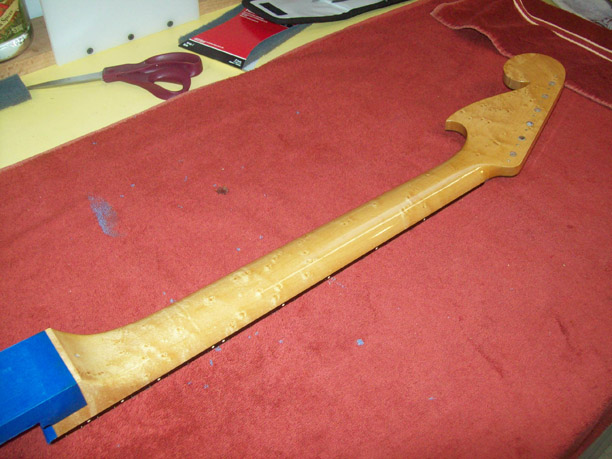
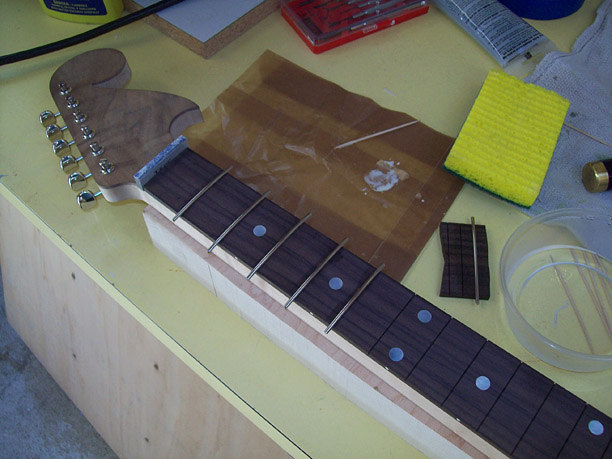
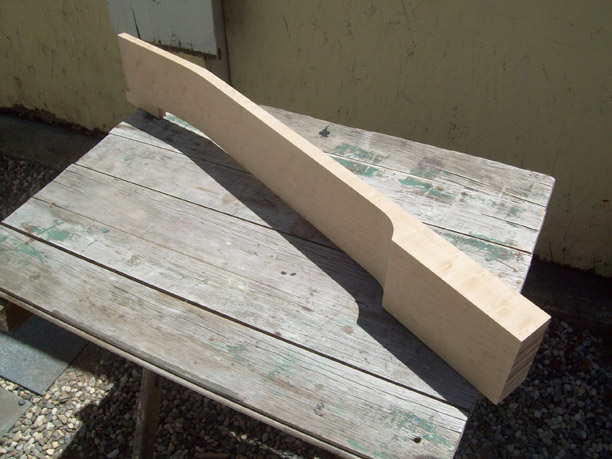
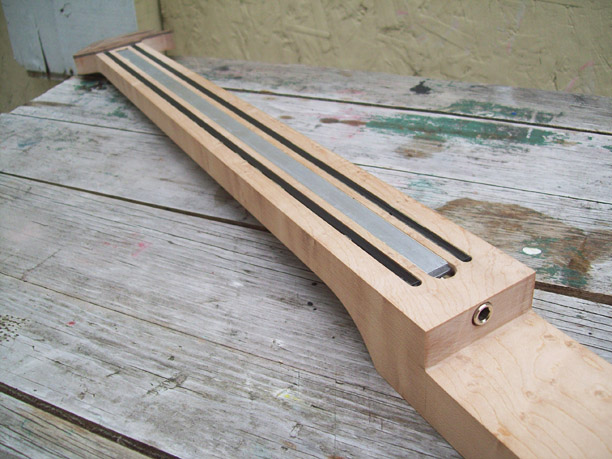
Well, my next hurdle was the neck, which I was a little nervous about. Should I try to make one from scratch or buy an “off the shelf” Strat-style neck and modify the headstock to make it look more like a Carvin?
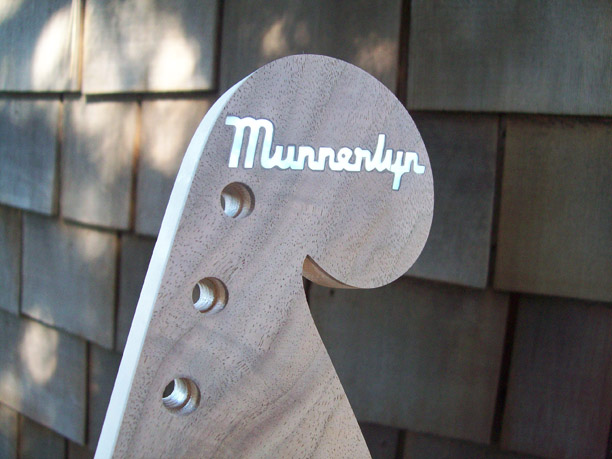
While I was deliberating these options, the clouds parted and the Guitar Gods smiled down on me. I spotted an eBay auction for an original vintage Carvin neck! Amazingly I won the neck for $37 and was sure that this was a sign that my project was “meant to be”. I had successfully sidestepped the neck hurdle.
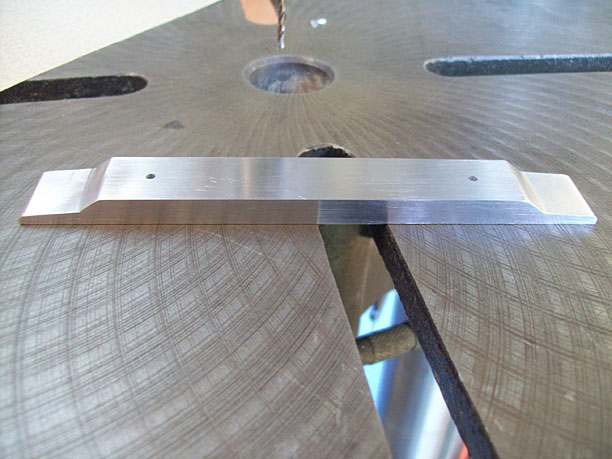
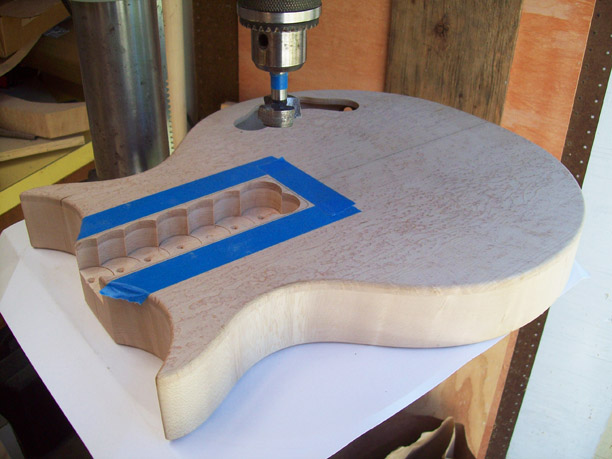
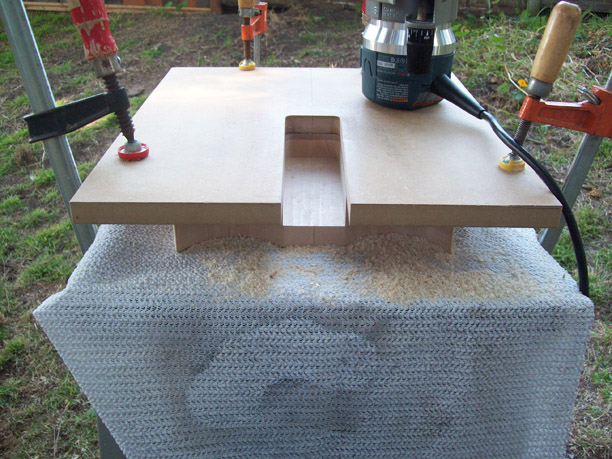
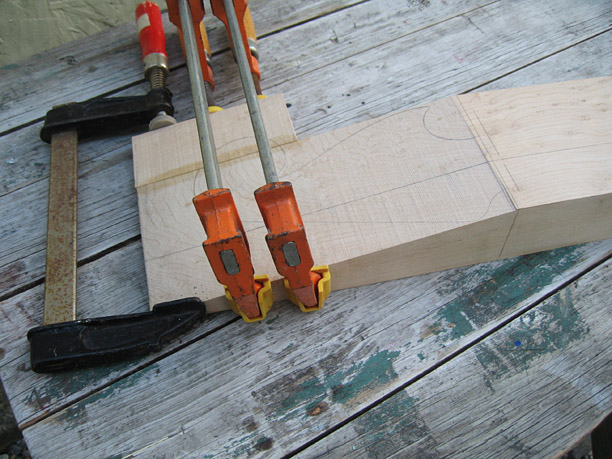
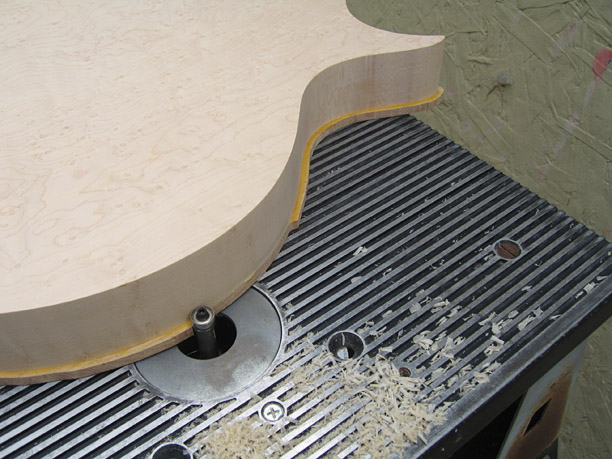
After carefully making a template from Lloyd’s Carvin body shape, I invested in a new router and template bit. Next, I scrounged an old router table from my neighbor buddy Bob Barbour. He just happened to have one sitting in his driveway and said, “If you don’t mind the rust, it’s yours.” Well, a little steel wool later and that table was back in action.
Next I rough bandsawed out the body. My pal Gary Evans at Seabright Hot Rods let me use his bandsaw for the job. I hope that one day I’ll be half the craftsman Gary is.
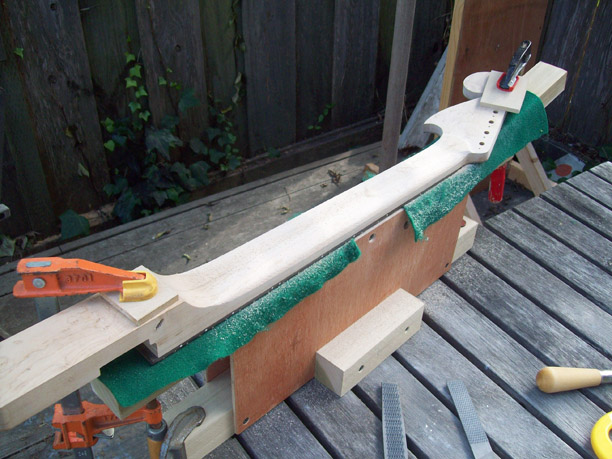
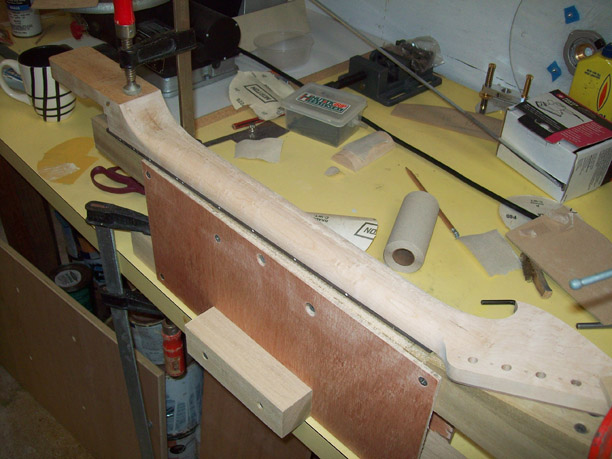
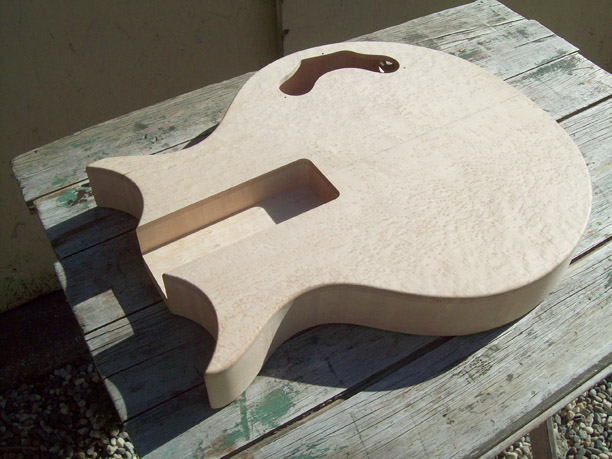
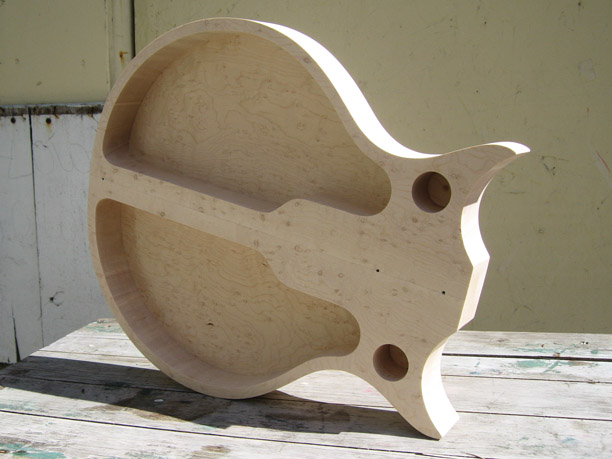
Finally, it was time to trim the final body shape to my template on the router table and see what this thing looked like. When the sawdust had settled, I was sort of stunned. It looked like a perfect copy of a Carvin guitar (below). Somehow I had gotten it right and hadn’t blown any of the steps along the way. It was a good feeling for sure and definitely boosted my confidence in what I was doing.

That’s when a funny thing happened though. I got real busy with a lot of other things and like so many projects of mine, the guitar gradually languished on the back burner until it was almost forgotten.
I know what you’re thinking. That’s a lousy ending to the story but I did learn a whole lot from the experience. Do I see it now as a huge failure, that it meant I’d never try making a guitar again? No, not at all. I see it now as a starting point.